
| Howto: Setup a Windows XP PPTP VPN Server |
Setting up the VPN server
To setup the server end of the VPN connection, we need to create a new connection, and then check the firewall/router settings.Firstly bring up the control panel by clicking on Start -> Control Panel. If the control panel is in Classic View as shown below, then click in Category View to see the simplified panel.

From the Category View click on Network and Internet Connections

Now click on Network Connections from the or pick a control panel icon section

Select the Create a new connection from the menu on the left of the screen
You should now see the New Connection Wizard click next to start.

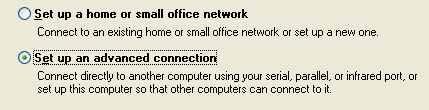
Select Set up an advanced connection and click next to continue.
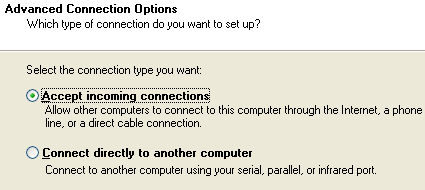
Select Accept incoming connections and click next to continue.
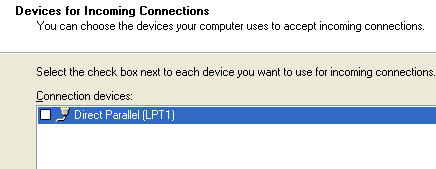
Leave the boxes unticked on this next screen and just click next to continue.
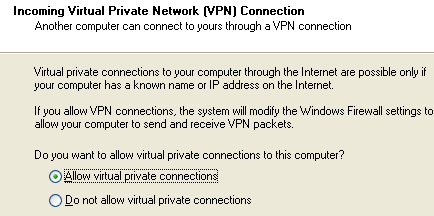
Select Allow virtual private connections and click next to continue.
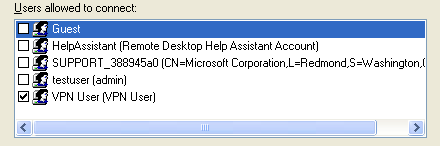
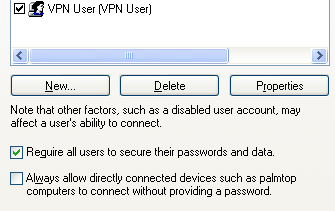
You now need to pick which users are going to be allowed to vpn in. If you created a user earlier, then ensure that just that user is ticked, else pick which user you want to use - remember they need a secure password. Then click next to continue.
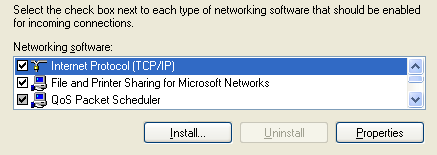
You can just click next to continue on this Networking Software screen, as you should already have everything you need installed, as you must already have either a modem or network card in the pc.
Congratulations, you've now completed the second step in creating a VPN connection. Click Finish to close the wizard.

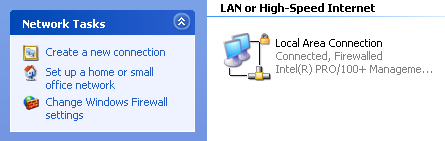
You should now see your new incoming connection in the Network Connections Window.
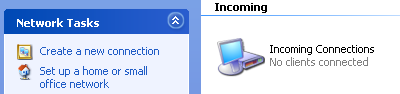
The last step is to ensure that all incoming connections use encryption (otherwise all this was for nothing !), so right click on the Incoming connections icon and select properties, then go to the second tab Users and tick the Require all users to secure their passwords and data checkbox, and then click the OK button to close the dialog
Setup the VPN User << page 1 | page 3 >> Setup the VPN Client
