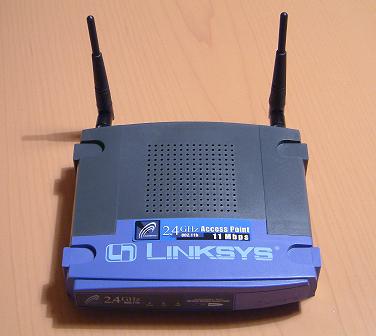
| Inside a Linksys Wap11 |
A guide to dismantling a Linksys WAP11 v2.2. If you do feel the urge to take you own WAP11 apart, then please note, that this will void the warranty, so best to run it for a few weeks and make sure it seems ok first. Some of the pictures are clickable, and will take you to a full size version of the image - but be warned, some of them are quite big.
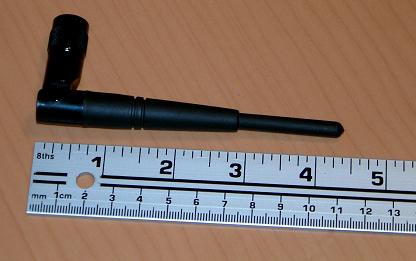
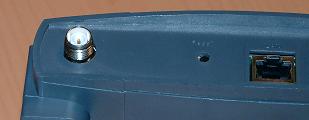
The first Step is to remove the antenna from the back of the wap11. These should unscrew easily enough revealing the connector and a small plastic washer.
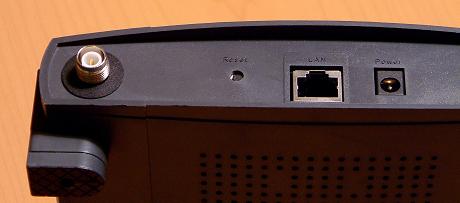
You should be able to gently tease the plastic washers off of the connectors, revealing that the connector is not infact attached to the case, which makes our job easier.
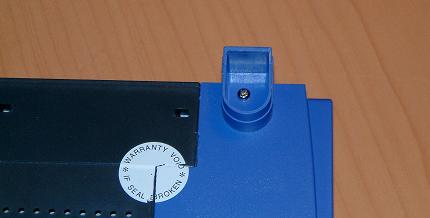
Next up, is unscrewing the front section of the case, so it can be plied of easier. You need to remove the rubber inserts in the two front feet of the wap11 each revealing a small screw. Please note the broken 'Warranty Void' sticker in the picture.
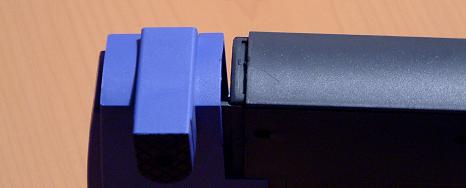
Now comes the hard part, prying the front section off. It is held on at the sides, and I found a small flat screwdriver best for levering it open.
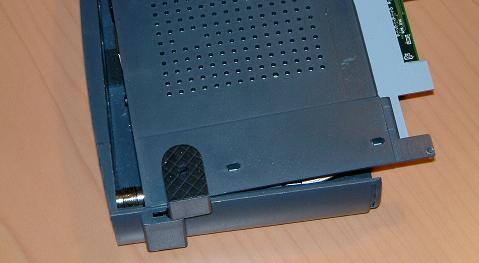
Now the bottom panel, onto which the electronics are screwed, should pull forward, and up out of the case
Revealing the wap11 insides in all their glory

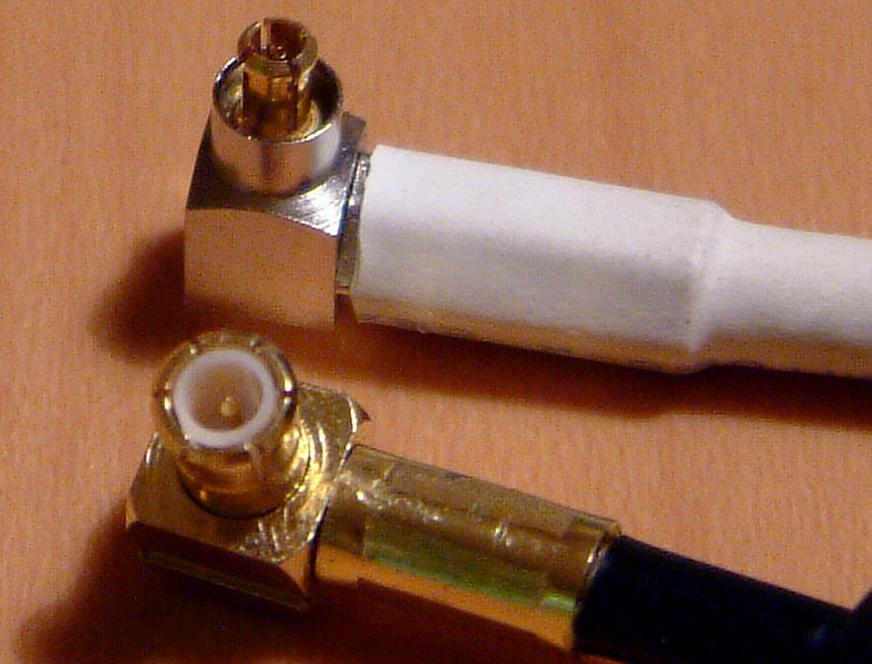
The antenna leads do pull off of the connectors sticking out from the board.

The connectors are not the same as those found on orinoco cards, the white cable is an orinoco pigtail.
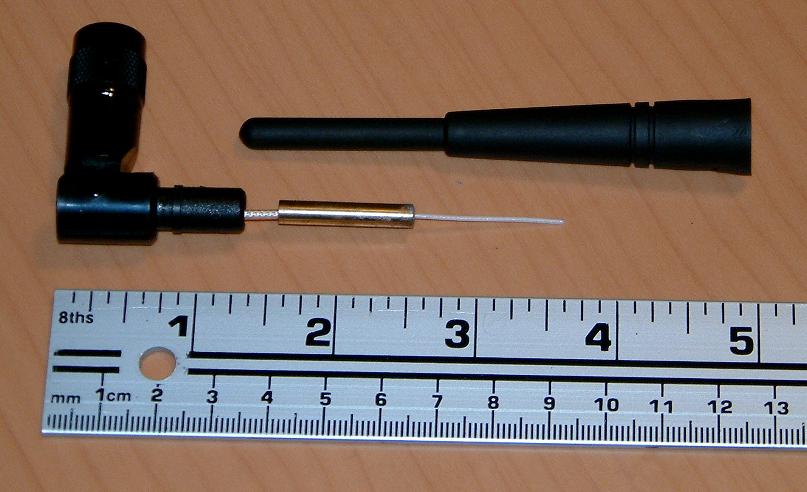
And finally, for those who want to see what is inside the antenna, we have before and after shots.